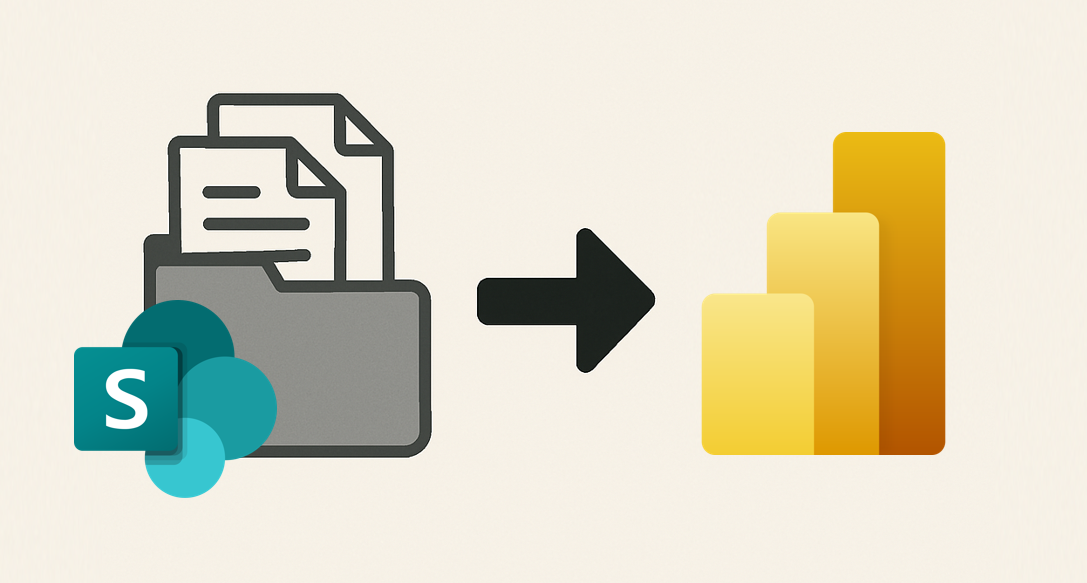
In my last blog post, I wrote about the easiest ways to import data from Excel files hosted on SharePoint into Power BI. Another scenario that I encounter frequently is the use of recurring flat file exports from source systems like ERPs, CRMs, or databases, typically as daily or weekly exports.
This approach is often used when it’s not easy to connect from Power BI directly to the source system, either because there’s no available connector or setting up a data gateway or custom integration would take too much effort. In many cases, there’s also no data warehouse to help centralize these ETL processes.
This presents a challenge: how can you bring these recurring exports into your Power BI dataset without needing a manual process or relying on an external solution to append new data into one main file? You can use SharePoint as the storage for these dumps and combine the files using power query. Power BI makes this surprisingly easy, and in this blog I’ll show you how to set it up.
Step-by-step Guide
- Add a new data source
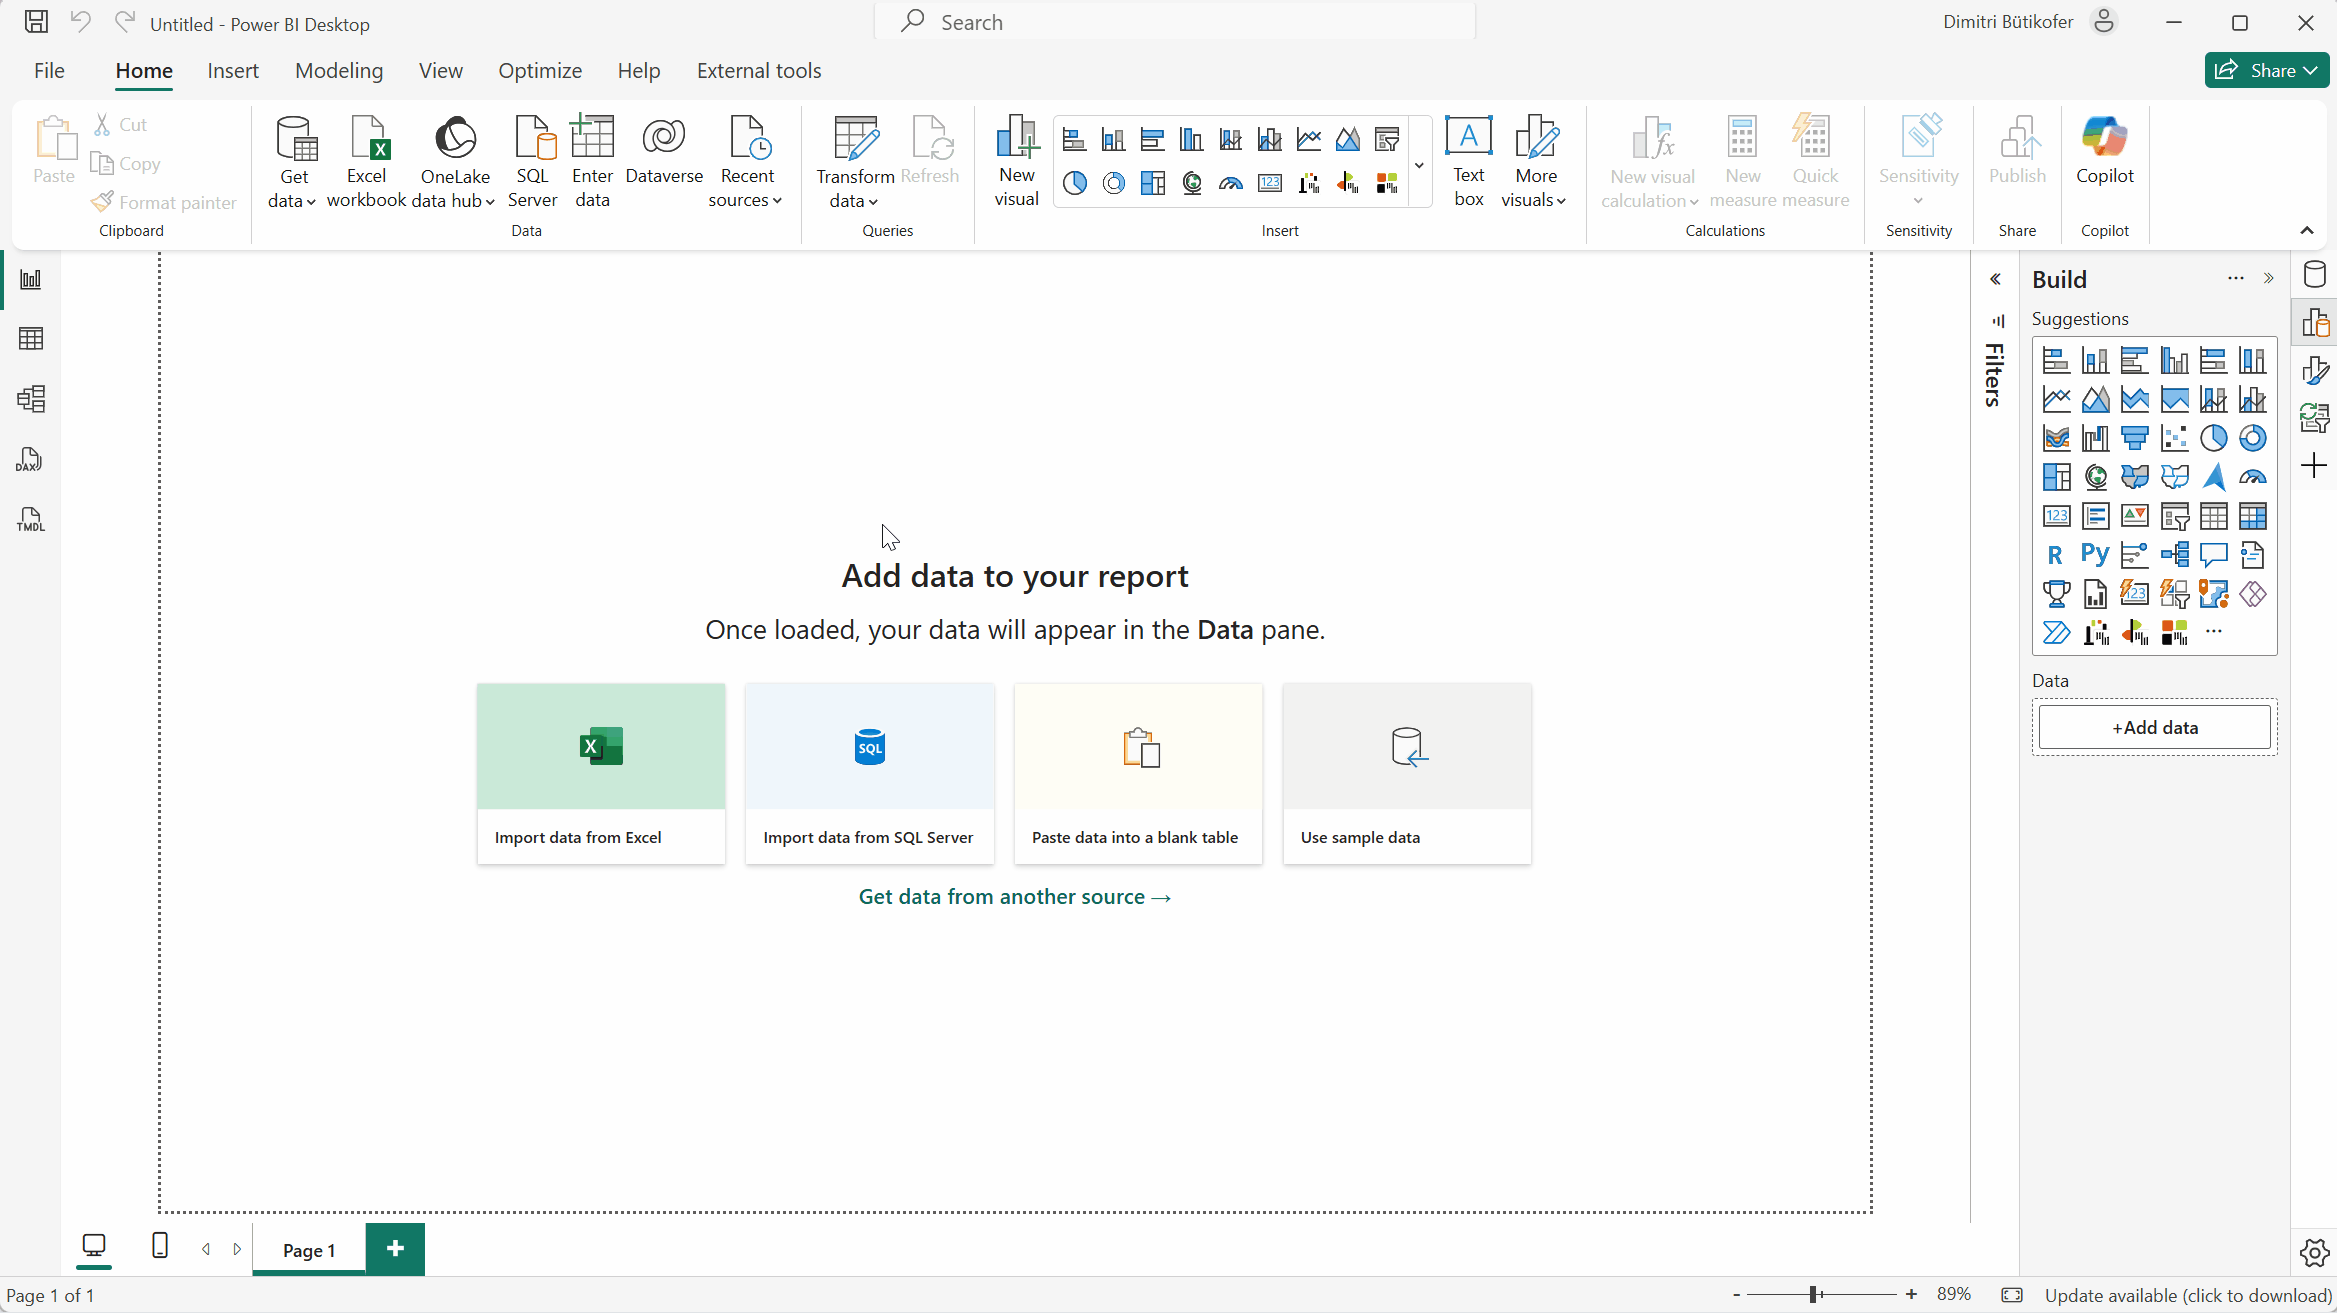
- To begin, open your Power BI Desktop and navigate to the Power Query Editor
- Go to Home > New Source
- Select SharePoint folder from the list of available data sources
- Enter the SharePoint Folder Path
- You’ll need to provide the correct URL to your SharePoint site:
- Use the base URL of the SharePoint site, not the full path to the folder. Paths with spaces can cause issues.
- Example format: https://company.sharepoint.com/sites/projectsite
- After entering the URL, click OK. When prompted for authentication, choose Microsoft Account and sign in using your credentials.
- View the File List
- Once connected, Power BI will display a list of all files stored in the SharePoint site.
- Click Transform Data to open the list in Power Query Editor and begin refining your selection.
- Filter by Folder
- Within the dataset, locate the Folder Path column. This column contains the full folder path for each file.
- Use the filter icon on this column to select only the desired folder. You can also use advanced filter methods (contains, starts with etc.) to narrows down your dataset to only the relevant files.
- Example Folder Path: https://company.sharepoint.com/sites/projectsite/folder1/
- Combine Files Automatically
- Now that you’ve filtered the relevant files click the double arrow icon in the Content column to combine them
- In the Combine Files dialog, leave the Sample File as the default (First file)
- Select the appropriate worksheet or table and click OK to confirm
- Power BI will generate a new query that consolidates all the selected files into a single table.
From now on, any new file added to that folder that matches your filter statement will automatically be picked up and included in your dataset the next time your dataset gets refreshed. You can setup scheduled refreshes just as you would for individual files from Sharepoint (see guide in my previous blog). This makes it easy to keep your reports up to date without needing to touch the query again.
Read More about Power BI: